gluten free zen
Taking The Stress Out Of Gluten-Free Grain-Free & Dairy-Free Living
Goat Cheese Logs
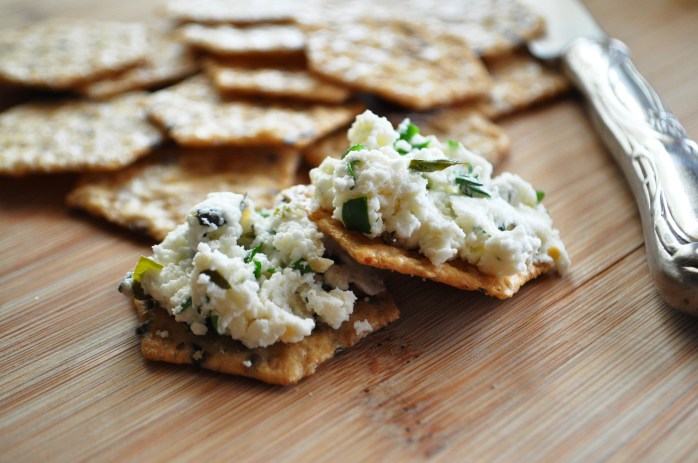
Goat’s Milk Cheese Logs
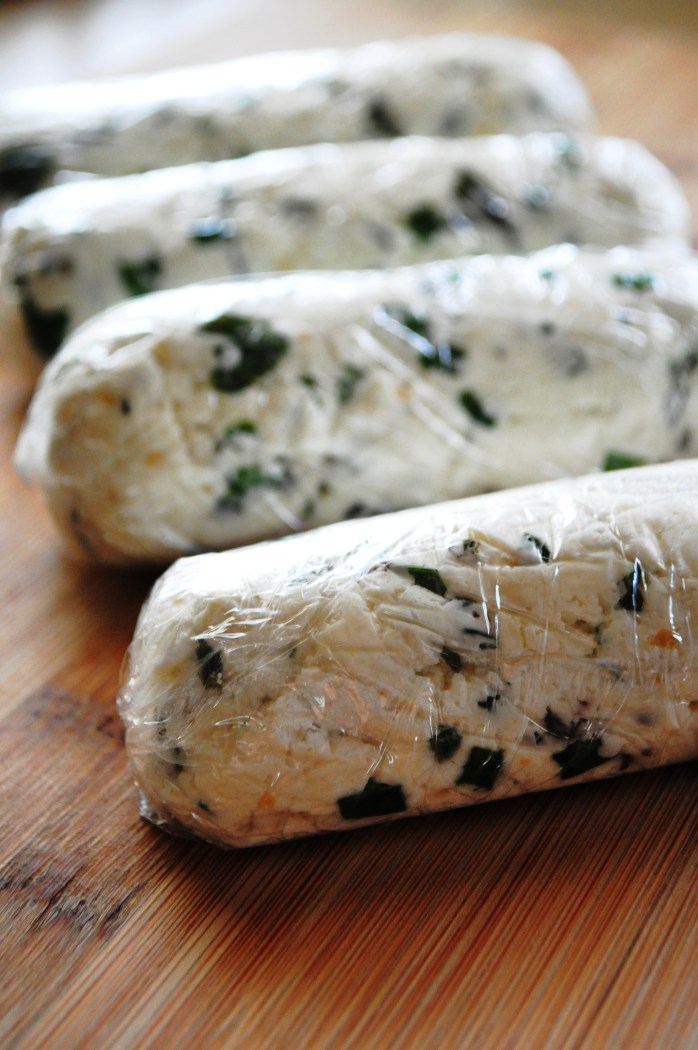
*Makes four 4-5 inch logs ( You can also freeze them for later use)
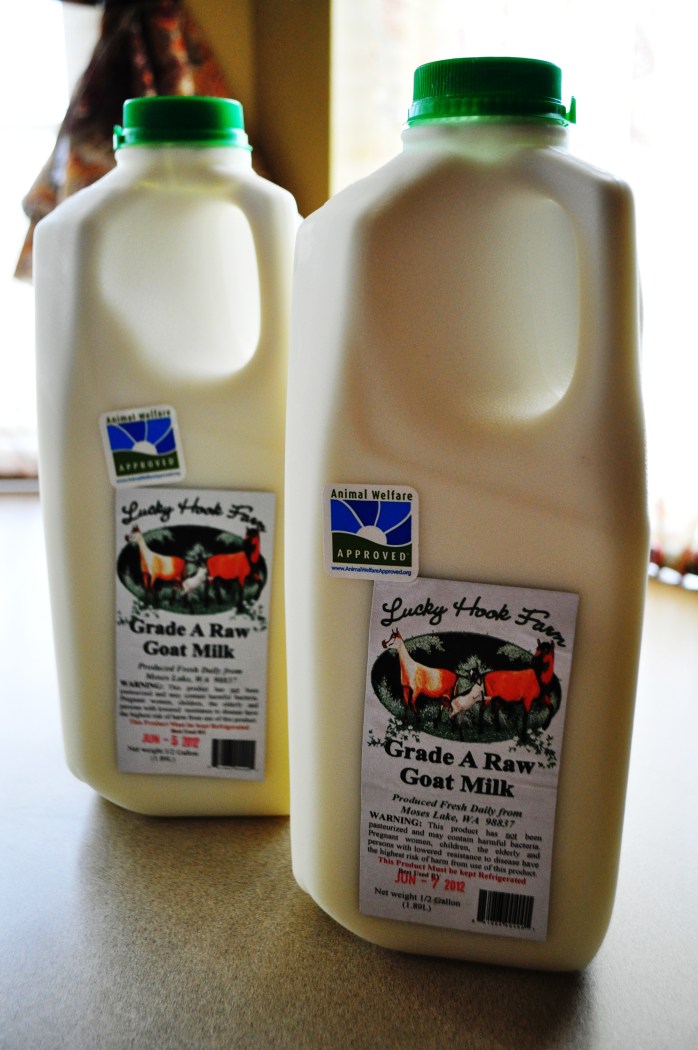
1 Gallon Raw Goat or Sheep’s Milk
3 Tablespoons Kosher Salt + more for seasoning later
Juice of 10 Organic Lemons, about 1 Cup Fresh Lemon Juice
About 2 Tablespoons Organic Chives, chopped
About 2 Tablespoons Organic Flat Leaf Parsley, chopped
About 1 1/2 Tablespoons Organic Thyme, chopped
About 2 teaspoons Chopped Garlic ( I used the organic garlic that comes in the jar)
Ground Pepper
I paid $16.58 for 1 gallon of raw goat’s milk. One gallon of goat’s milk made into cheese gives you about 12 ounces of cheese. That’s about $1.38 per ounce. Expensive, but really no more than you pay in a grocery store.
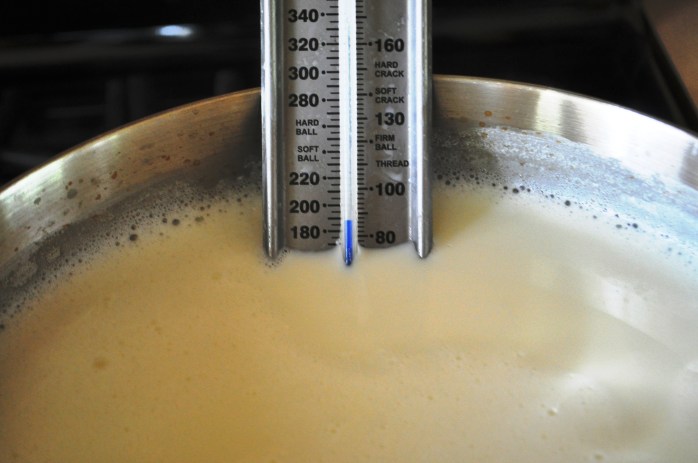
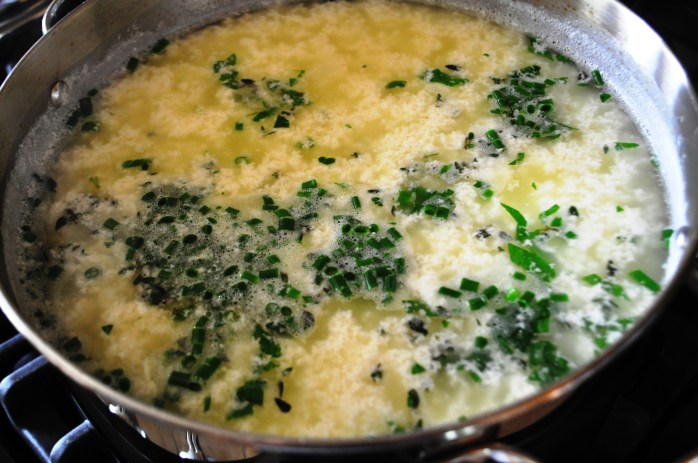
In a large dutch oven or stainless steel pot (do not use aluminum) add several inches of water and bring to a boil. Boil for about 5 minutes to sanitize. I carefully sloshed it up and around the sides. Drain, add the milk and salt, stir. Heat to 185-190 degrees stirring frequently. Keep an eye on it so it doesn’t scald on the bottom of the pan.
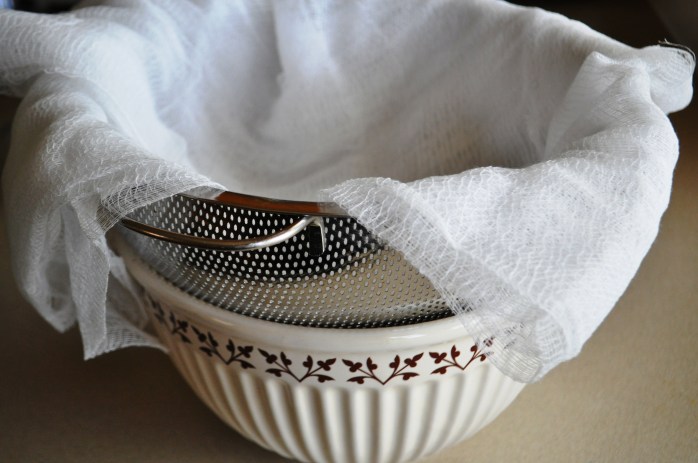
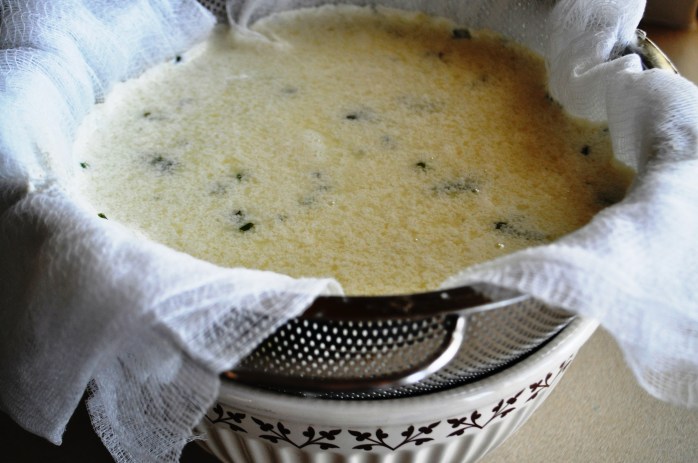
Meanwhile, line a large strainer with the cheesecloth. I used all of the cheesecloth in the small package I purchased. Just fold it over and make sure it drapes over the sides. Place the strainer over a deep bowl.
When the milk reaches 185-190 ish degrees, remove from heat.
Slowly stir in the lemon juice. It starts to curdle right away.
Add a pinch of parsley, chives, and thyme, reserving the rest for after the cheese has drained. Allow to rest for 25 minutes in the pan.
After it has rested, pour slowly into the cheesecloth. Allow to drain for about 30 minutes.
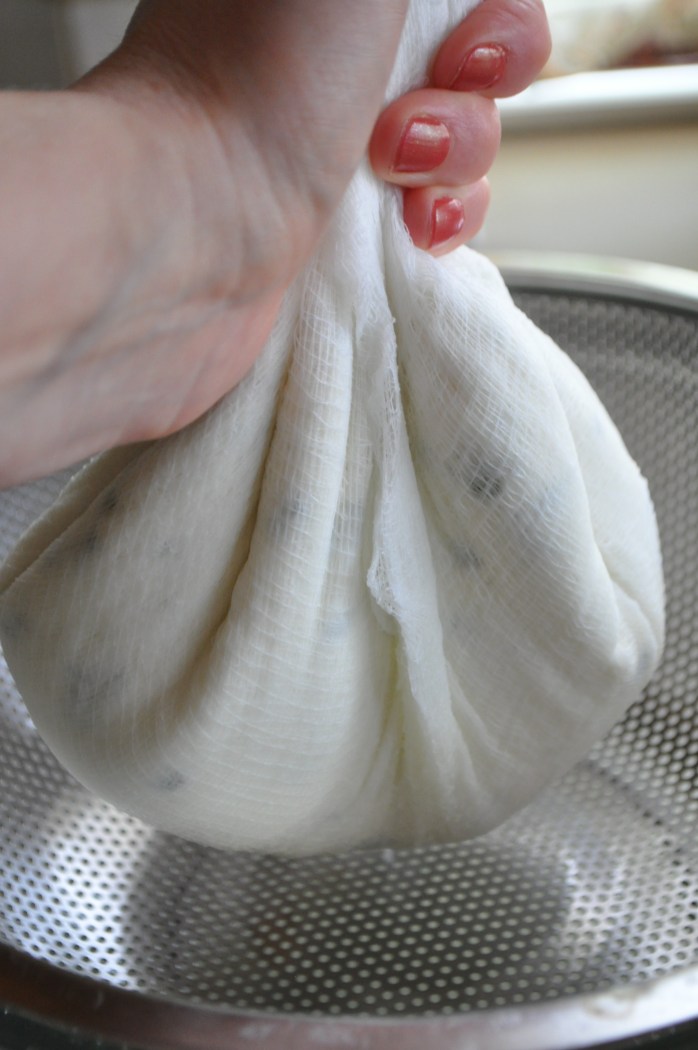
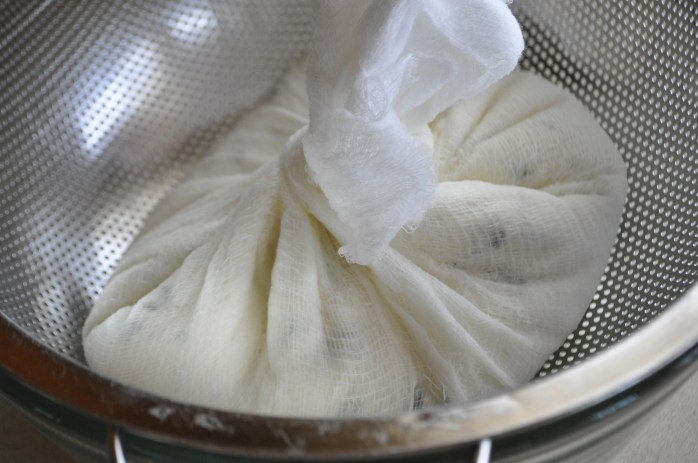
Once drained, carefully pull the sides of the cloth in and twist into a ball, carefully squeezing out some more of the liquid. Allow to rest and drain for another 25 minutes or so checking and draining the bowl every so often so that it is not sitting in its own liquid.
Remove the cheesecloth from the strainer and scrape the cheese off with a spoon into a bowl. Add the remaining herbs and garlic and stir to combine.
Taste and add a bit more kosher salt and a few grinds of good peppercorns.
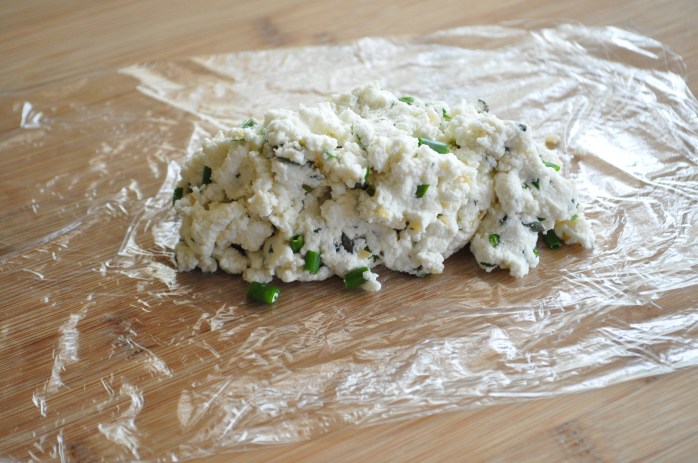
On a clean working surface pull out a piece of plastic wrap and fold in half. Spoon goat cheese onto the middle of the plastic wrap in a small row.
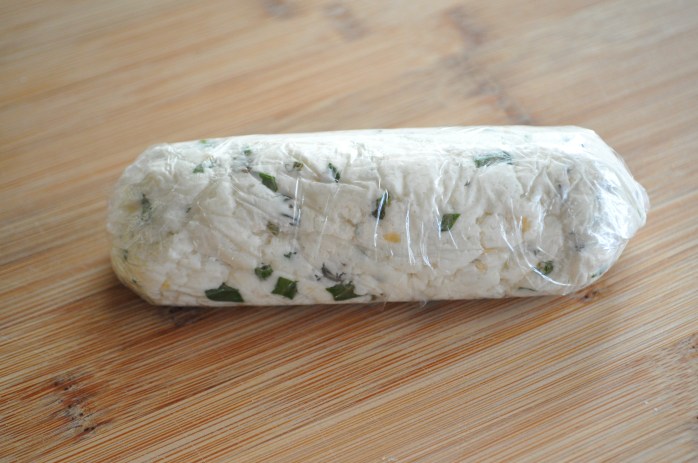
Gently roll up one side of the plastic wrap and snuggle it over the log. Roll the log to the other end of the plastic wrap, twist the ends tight and tuck under.
Continue to do this with the remaining cheese or if you’re going to use it within a couple of days, you can also make it into one large log or any shape you like, really.
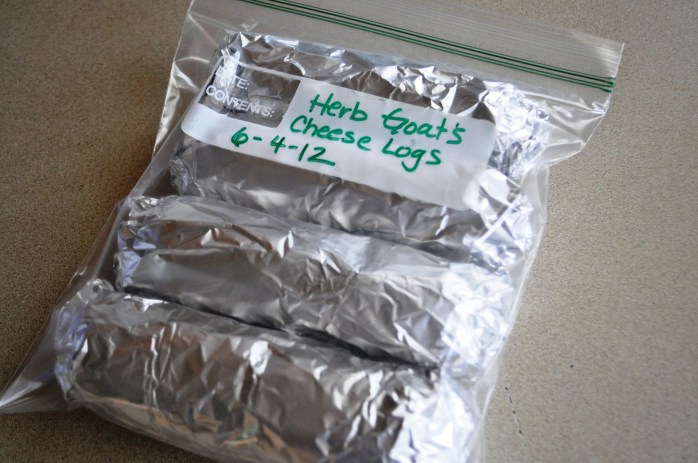
Once all of the cheese has been rolled, refrigerate for three hours. Remove from fridge, roll in one more layer of plastic wrap, cover in tin foil, enclose in a freezer bag and freeze up to one month.





I love your new look! Fresh and breezy! I have no idea where I would find goat cheese here, John would say get a goat.. (sigh.. eyes raised!) but this cheese looks fantastic, i love goats cheese.. c
LikeLike
You can do the same thing with sheep’s milk and cow’s milk. It’s incredibly easy. You are so creative, I can’t believe you haven’t made your own cheese! I know you’re just sitting around twiddling your thumbs…never busy. Ha!
LikeLike
Welcome to the cheese making club! Your herbed goat cheese looks perfect! I envy you your access to raw milk. It’s illegal here to sell it. I know how to get around the curd problem but there is no way to get around the difference in taste when you use raw instead of pasteurized dairy. As it is, I’ve got a fridge full o’ feta and just made a batch of mascarpone that needs to be drained.
LikeLike
Mmm..mascarpone. I miss that!
LikeLike
This looks great! I make my own ricotta (from cows milk) all the time using a similar method, but I’ve never thought of using goats milk. Thanks for the recipe!
LikeLike
It is so easy! You could use goat’s milk or sheep’s milk. Thanks for stopping by! 🙂
LikeLike
nice job…
LikeLike
Thanks! And thank you for stopping by. 🙂
LikeLike
We want that delicious cheese 🙂 Very nice work… Good photos and detailed preperation brings this cheese to our houses 🙂 Thanks…
LikeLike
Thank you so much for the nice comment! 🙂 And thank you for stopping by!
LikeLike
Pingback: A Mish Mash of Life | gluten free zen